Showing posts with label Curly Bracket Feather. Show all posts

Friday, September 25, 2015

When I'm not tangling...

If you've read my blog before, you'll know that one of my favorite things to do while on Hilton Head is to take one or more of the cooking classes at Michael Anthony's Cucina Italiana. I've been doing this for several years now, and it has completely changed how I cook. Last April I took two of them and reported on it in this blog entry, and in this one.

There are two types of classes - Hands-on and Demo. The Hands-on classes are my favorite, since you get to prepare each dish yourself (sometimes with a partner).  But they also take longer - up to 4 hours if you get lucky in your partner! Plus, you don't sit down for the lunch you've prepared until everything is done. That means a late, heavy lunch, which puts a damper on dinner plans.

The Demo classes, where Executive Chef Chris Johnson prepares the dishes while you watch and take notes, only takes 2 hours, and you taste the dishes as he finishes each one. Easier on the time, and you eat early enough that you can still enjoy dinner.. So I signed up for two of the Demo classes this time - the first was today. The handout has all the recipes that Chef Chris prepares in the class, and as you arrive you are given that, plus a nice glass of Prosecco.


Here is the layout and kitchen for the class. Get there early enough to get a seat where you can see every detail without resorting to the TV screen! I got there first, so I snagged the second seat from the right, where my nose was practically on the cutting board!


The kitchen

One of the things that slows down the Hands-on class is assembling the mise-en-place, all your ingredients, measured out before you begin and in some rough order of their use. For the Demo classes, this is all done ahead of time (it's good to be Chef).


The mise-en-place. Note the heavy Italian pounder in front, used for preparing the pork scallopine
.
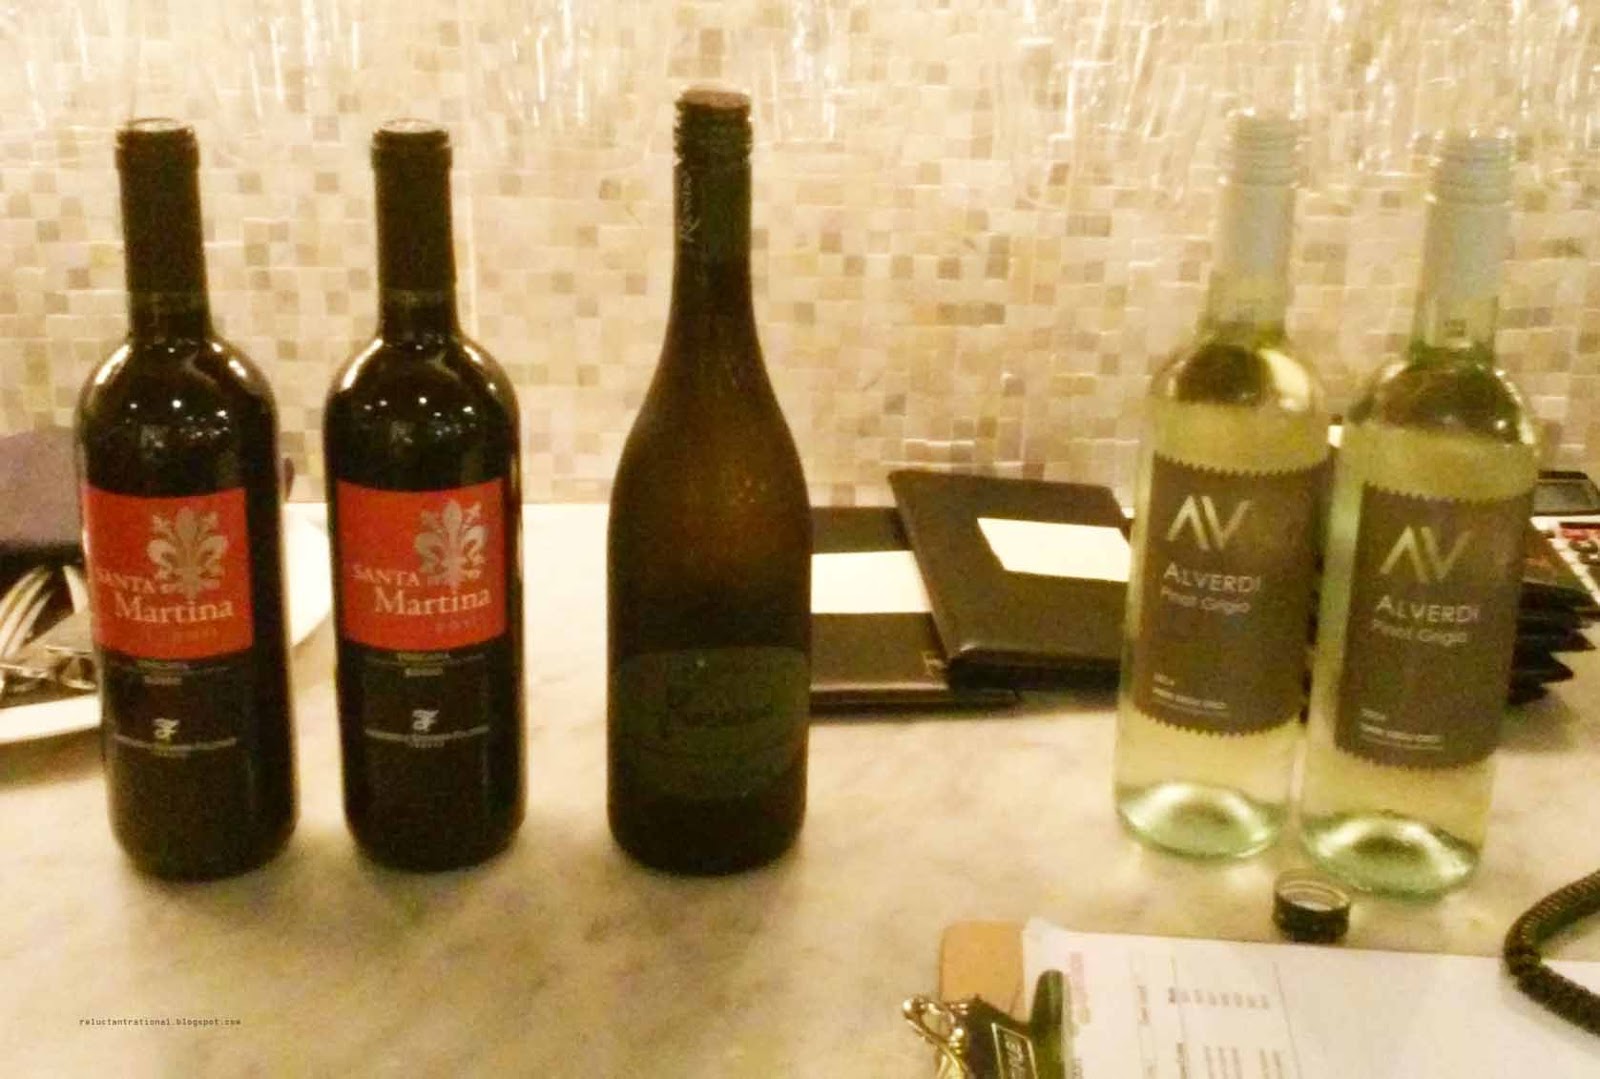
 Lunch includes wine, red or white, Prosecco in the center. 


 The first dish was Italian Wedding Soup, which we were told is not Italian, but Italian-American. The inspiration for this soup is a dish from the Campania and Lazio regions of Italy called "marriage soup," which originally referred not to nuptials but to the "marriage" of meat and greens. Whatever its origin, this recipe is so-o-o much better than the insipid Italian Wedding Soups I've had in the past. I can hardly wait to make it at home!


 Italian Wedding Soup 
Second dish - Occhi di Lupo alla Sardignola. Occhi di Lupo means "Eye of the Wolf" and refers to the pasta which is traditionally used in this Sardinian dish. We used a similar pasta - a mezzi rigatoni. This light and really satisfying dish has pasta, mild Italian sausage, and arugula, served in a light Pomodoro sauce.


Mezzi Occhi di Lupo


Occhi di Lupo alla Sardignola

The final dish was Scallopine di Maiale con Balsamico (Pork scallopine in a balsamic reduction). In the recipe was a pepper that I had never heard of before, but will certainly use - peppadew. It actually from Africa, and has an intensely sweet taste, but with a kick at the end. Absolutely delicious. Served here with sauteed spinach (which was actually green)


Scallopine di Maiale con Balsamico

There was a little down time between courses, so to keep myself from guzzling wine, I tangled on the only piece of paper available. It might only have been lunch, but I still had to drive home. Fortunately, I am never without my Micron pens!


The second entry in Diva Challenge #236: Freeform Aquafleur, Curly Bracket Feather, Fescu, Mooka
Fern
Cadent, Poke Leaf, and Poke Roo
t
A good time was had by all, Especially me. I've signed up for another one next week!


Thursday, September 10, 2015

The long-awaited (NOT!) Mishima post

Mishima is a surface decorating technique for ceramics - kind of a reverse sgrafitto. You can see my post on sgrafitto here. For this technique, the design is incised (scratched) first, while the clay is leather-hard and before a thin underglaze is applied. The underglaze runs into the carved designs. After a little drying, you scrape off the excess clay using a metal rib or a razor blade. 


Darted vase at the leather-hard stage

I incised this one with a freehand version of Helen Williams' tangle, "Curly Bracket Feather." The stepout can be found here. Tangling on a curved object is a whole lot tougher than on a tile or in a journal, let me tell you!


Same vase, incised and painted with three coats of black underglaze


Closeup of the incised and painted design

After the underglaze has dried, the a metal rib is used to scrape away the excess. The underglaze that flowed into the design remains.


Partially scraped vase, with metal rib. Vase is stuffed with plastic so the inside doesn't dry faster than the outside.


Closeup

Here's the vase after scraping and firing (bisqueing) the first time.


Carved vase after bisqueing

I then painted the vase all over with thin coats of blue and yellow underglaze, and bisqued a second time. Then several coats of clear glaze was applied, and the vase put through the final firing.


The finished vase

Here are some more finished Mishima Tiles.


This last example is a Mishima tray (the distortion is from the photographic angle). The pattern was carved freehand, and is a variation of "Tumbleweed" by Helen Williams.


Tumbleweed Tray:  Little Loafers clay, black underglaze and clear glaze

I thought the Mishima technique  would be good for fine-lined Zentangle Art. I may end up doing that, or maybe if my sgrafitto technique improves, I will stick with that.

Aren't you glad you waited?